 Walkthrough
Walkthrough / Support
From a folder to a finished listing.
Sort a shoot once on your Mac and the photos upload to the MLS in the order you chose. Open Walkthrough and choose a folder containing JPG or JPEG files. Immediate-folder photos appear in the contact sheet. Jobs and naming choices save automatically on this Mac.
Getting started
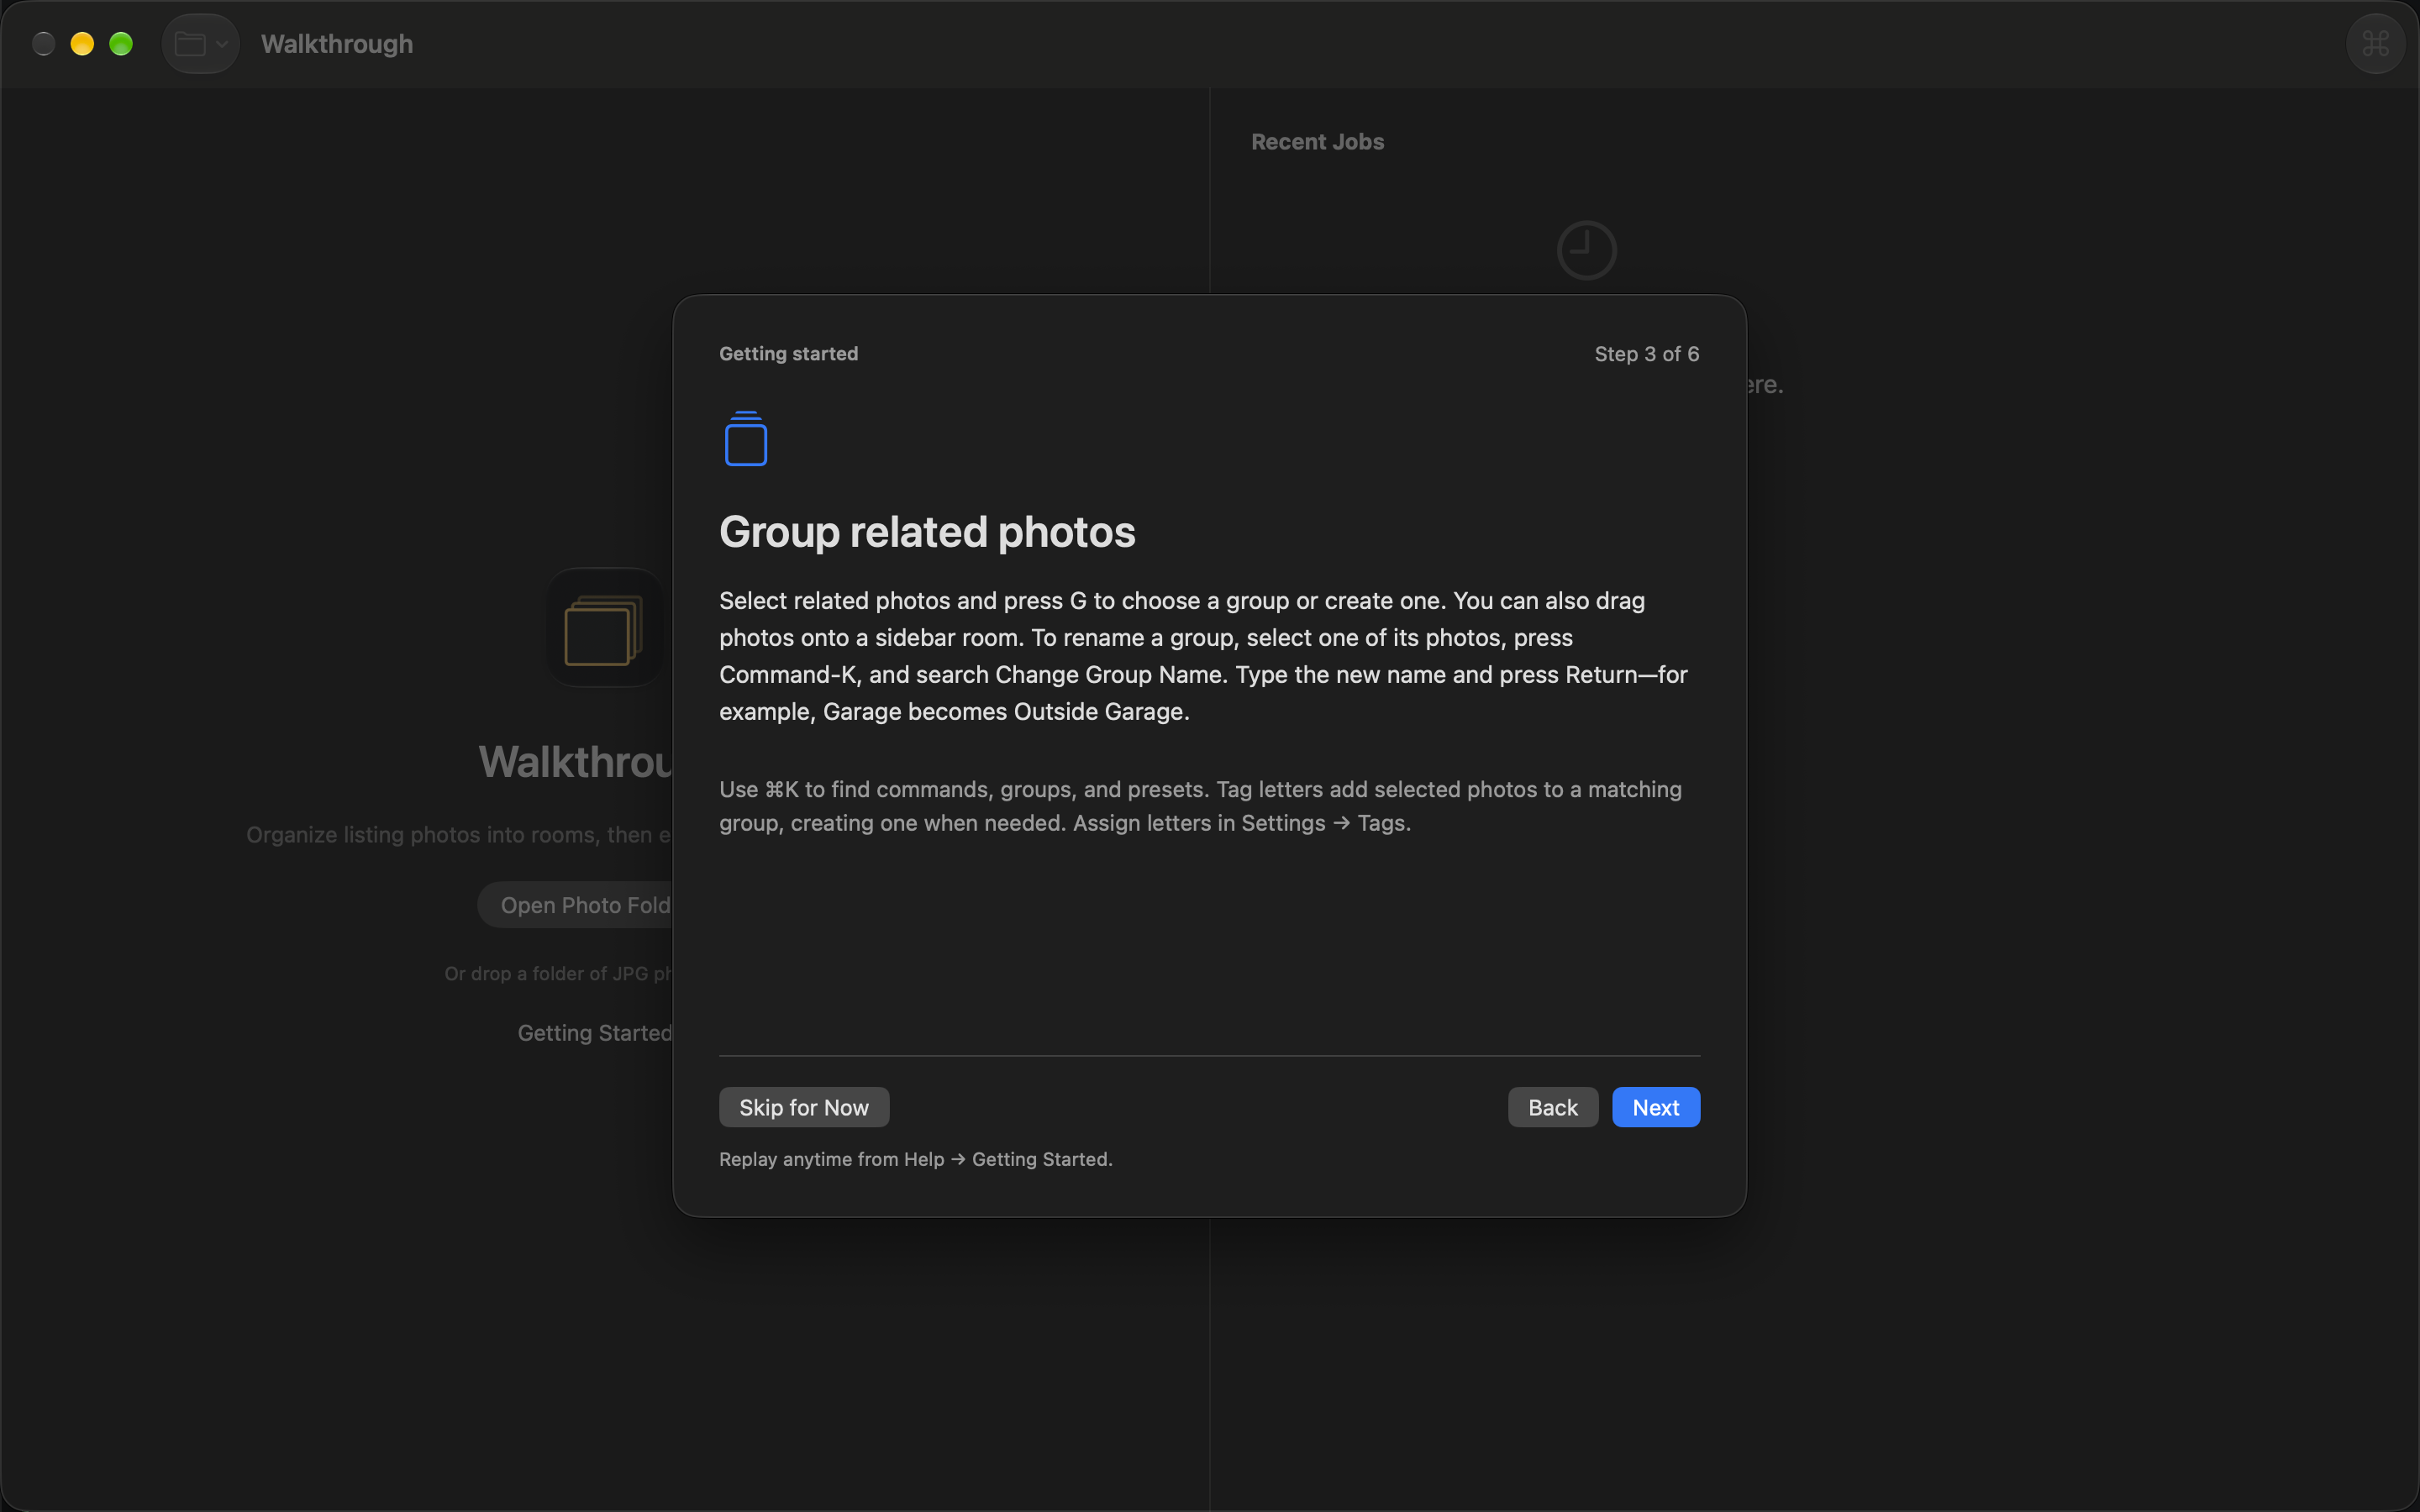
A six-step introduction opens the first time you launch the app. Finish it or choose Skip for Now. To see it again, choose Help → Getting Started, or use Getting Started on the welcome screen. Replaying the guide leaves your current job untouched.
Names that make uploads easier
Keep related photos together, put groups in your preferred listing order, then arrange the photos within each group. Sorting the exported files by name, ascending, follows that sequence. Check the final photo order in the MLS or website after uploading.
The Standard format produces 123-Oak-St_01_Entry-02.jpg: the address, room number, room name, and photo number. The room number keeps groups together; the photo number orders the views inside each group.
Leading zeros matter: 01, 02, … 10 stay in numeric order during text sorting, while 1, 10, 2 can appear out of sequence. Room and photo numbers use two digits by default.
Browse your rooms
Choose All Photos, Ungrouped, or one room in the sidebar. Selection, arrow navigation, and the preview filmstrip follow that scope. Toolbar buttons switch Contact Sheet, Preview, and Split; drag pane dividers to adjust their widths. The inspector holds selection actions, naming, and listing details.
Choose a group
Select photos and press G. Type to find an existing group, or type a new name and choose Create. Use Up and Down to highlight a result, Return to apply, and Escape to cancel. The inspector’s Add to Group button opens the same picker. You can also drag photos onto a room in the sidebar.
Rename a group
Select one of the group’s photos, press Command-K, and search Change Group Name. Replace the filled-in name and press Return. For example, rename Garage to Outside Garage. The group label and filename previews update together; Command-Z undoes the change. Escape cancels. Select photos from only one group, or choose the room in the sidebar. See the illustrated rename example.
Change the delivery order
Drag rooms in the sidebar, use the room’s context menu, or press Shift-G. Use Up/Down to choose a group, Option-Up/Down to move it, or P to enter a position. Apply Order renumbers the filenames. Command-Z undoes the whole change.
Keyboard guide
Press ⌘K to open the centered palette and search commands, groups, tags, presets, templates, and recent jobs. Use arrow keys and Return to act; Escape or a click outside cancels. See all shortcuts and examples in the illustrated guide.
- Command-A / Shift-Command-A
- Select all photos in the current room or scope / show and select all ungrouped photos. All Photos includes collapsed groups. In text fields, Command-A selects text.
- Option-Command-Left / Right
- Move selected photos earlier / later within one group or the ungrouped section.
- Command-click
- Add or remove an individual photo from the selection.
- Space / Z
- Open or close Preview / toggle Fit and 100% zoom.
- G / U
- Add to group picker / return selected photos to Ungrouped.
- Shift-G
- Open the group-order editor.
- Command-Z / Shift-Command-Z
- Undo / redo.
- Option-Command-1, 2, 3
- Contact Sheet, Preview, Split.
- Option-Command-I
- Show or hide the inspector.
- ?
- Open the in-app shortcut guide. Letter shortcuts pause while you edit text.
Export
Export All Photos includes the entire job, even when you are viewing only one room. It always opens with Rename only selected. Choose Copy or Move to use the current folder or another destination, with optional numbered group folders. Review the complete output paths and fix conflicts before continuing. Copy keeps the source files; the open job follows the exported files after either Copy or Move. See the export guide and examples. JPG bytes remain unchanged; thumbnail resizing only changes the display.
Availability and updates
Walkthrough requires macOS 14 or later and supports Apple silicon and Intel. Open the DMG and drag Walkthrough to Applications.
Upgrading from Listing Namer? Walkthrough is the same app with a new name. Your saved jobs, naming presets, and settings remain compatible.
Use Walkthrough → Check for Updates to get the latest release. Automatic checking is optional in Settings → General. No app account is needed. See release notes for the update history, also available from Help → Release Notes and Settings → General.
Moved folders and local jobs
If a source folder moves, use Locate Job Folder in the File menu. An ordinary photo folder opened on another Mac starts a new job. Organization history stays in the local app library.
Get in touch
Email contact@brianrenshaw.app with your macOS version, app version, and what happened. You do not need to send client photographs to report an issue.